A Note From feedfeed
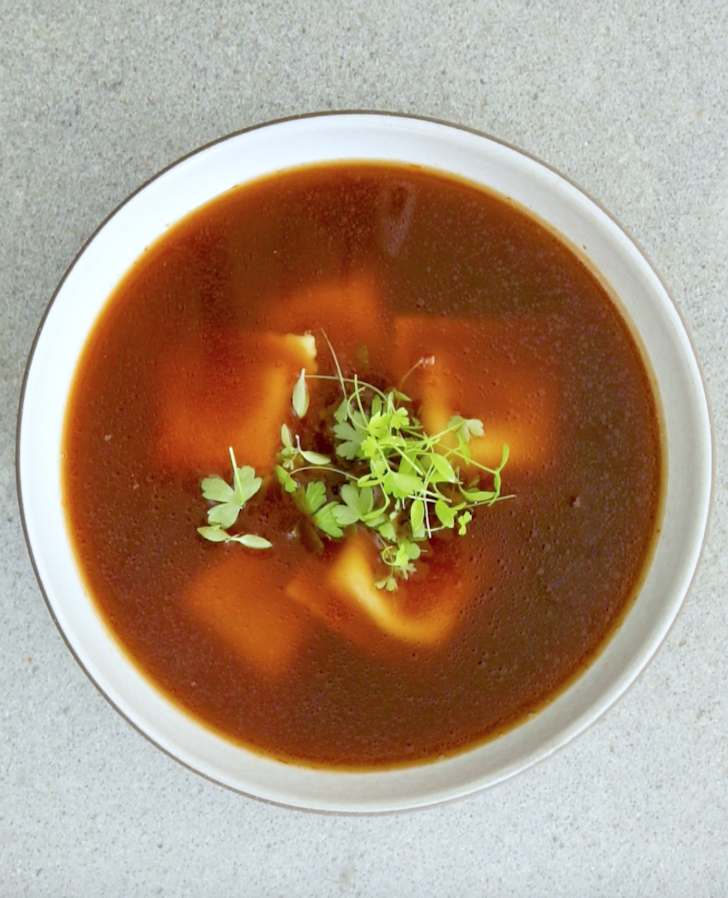
We used Muir Glen Tomato Paste to make a rich Beef Bone Broth in the Instant Pot®. After a roast in the oven to develop some caramelization (i.e. flavor!) the bones and aromatics are transferred to the Instant Pot® where they cook for about 2 hours. The end result? A deeply flavored broth that you can sip on, use in soups, braise with or even cook grains in! P.S if you’re not keeping your onion skins on when making stock you’re doing it wrong! Don’t underestimate the color and flavor that this often wasted kitchen scrap can provide.
To watch the full video and how we made it, click here!
Recipe Card
ingredients
- 2 1/2 pounds beef bones
- 1 (6 ounce) can Muir Glen Tomato Paste
- 1 large onion, (or 2 small), skin on, quartered
- 4 medium carrots, chopped
- 4 stalks celery, chopped
- 1 head garlic, halved lengthwise
- 2 tablespoons apple cider vinegar
- 1 tablespoon black peppercorns
- 1 bunch parsley, stems only
- Water, as needed
Method
Step 1
Preheat the oven to 425˚F. Add the bones to a roasting pan and brush with the tomato paste. Add the onion, carrots, celery and garlic to the roasting pan and place in the oven for 1 hour.
Step 2
Remove the bones and vegetables from the pan and place them in the inner pot of the Instant Pot®. Add the apple cider vinegar to the roasting pan and scrape up any fond that has collected on the bottom. Add this liquid and reserved fond to the Instant Pot® followed by the peppercorns and parsley stems.
Step 3
Add cold water to the Instant Pot®, filling it to the max fill line. Set the pot into the machine and place the lid on with the vent in the closed or sealing position. Set the Instant Pot® to manual high pressure for 120 minutes. When the cook time is through, let the pressure naturally release for 30 minutes before manually releasing the remaining pressure.
Step 4
When able, remove lid and discard bones. Set a large bowl over a ice bath and strain the broth through a fine mesh strainer, pressing down on the solids to extract as much flavor as possible.
Step 5
Once cool, add the broth to air-tight jars and store in the fridge for 5 days or in the freezer for up to two months.
Step 6
A note on salting: Since you will be using the broth is recipes in which it will be further reduced, do not salt the final product before storing. If, however, you’d like to enjoy it as a sipping broth, you can add kosher salt to taste to awaken the flavor.

