Brownie Cake with Peppermint Bark
Makes one three layer, 6 inch cake
- ★★
- ★★
- ★★
- ★★
- ★★

Its finally almost Christmas! So exciting! This will be our first one in the city, which is kind of weird seeing it is my third and Richard's fifth one in America! We always end up either spending it at home in New Zealand, meeting our family somewhere that's warmer than NYC, or going to Canada to spend it with our Canadian family when the trip to NZ is too long. I am so excited to finally be starting our own wee Christmas traditions. We are getting a tree this week, then spending the actual day with a bunch of friends who also aren't spending it with family. I can't wait.
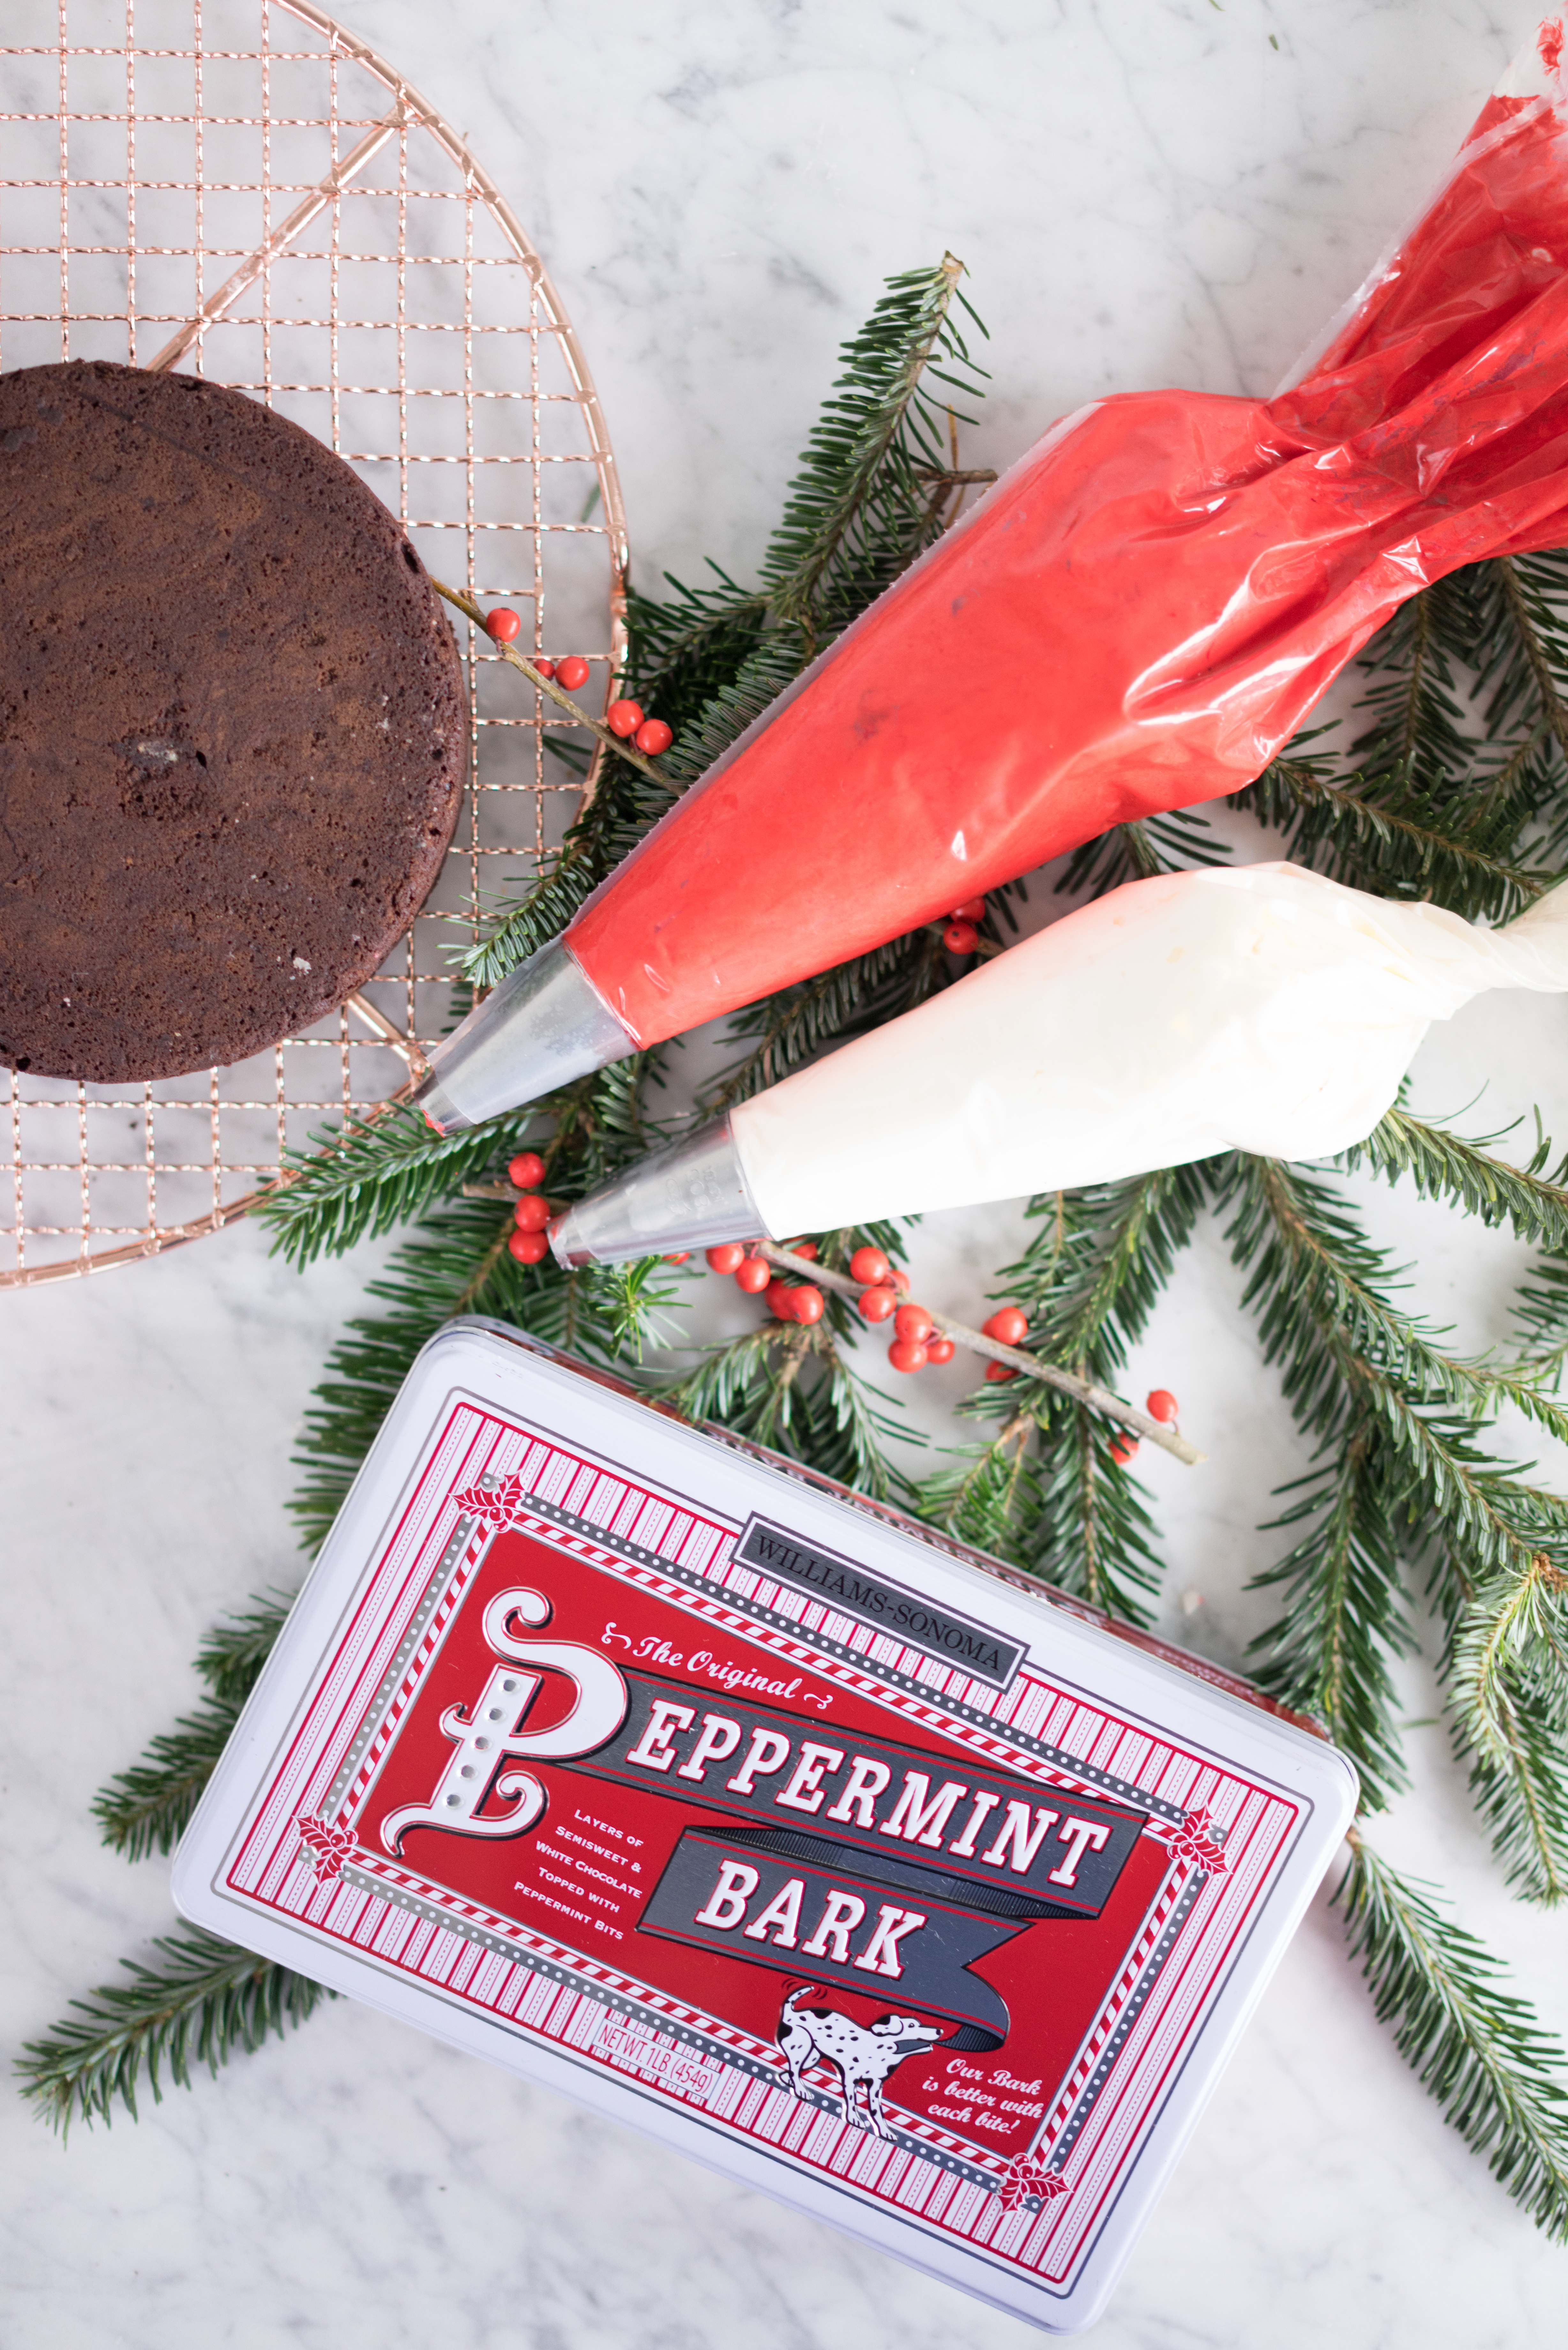
Christmas being so close also means that it's time to start busting out all of the holiday recipes! This year I am working with Williams-Sonoma and The Feed Feed to bring you a recipe using their amazing Peppermint bark! Small confession - I had never tried it before until it arrived in the mail! It's not really a big thing in New Zealand. But OH MAN. It is amazing. It is the perfect balance of chocolate and peppermint. Totally addicting.
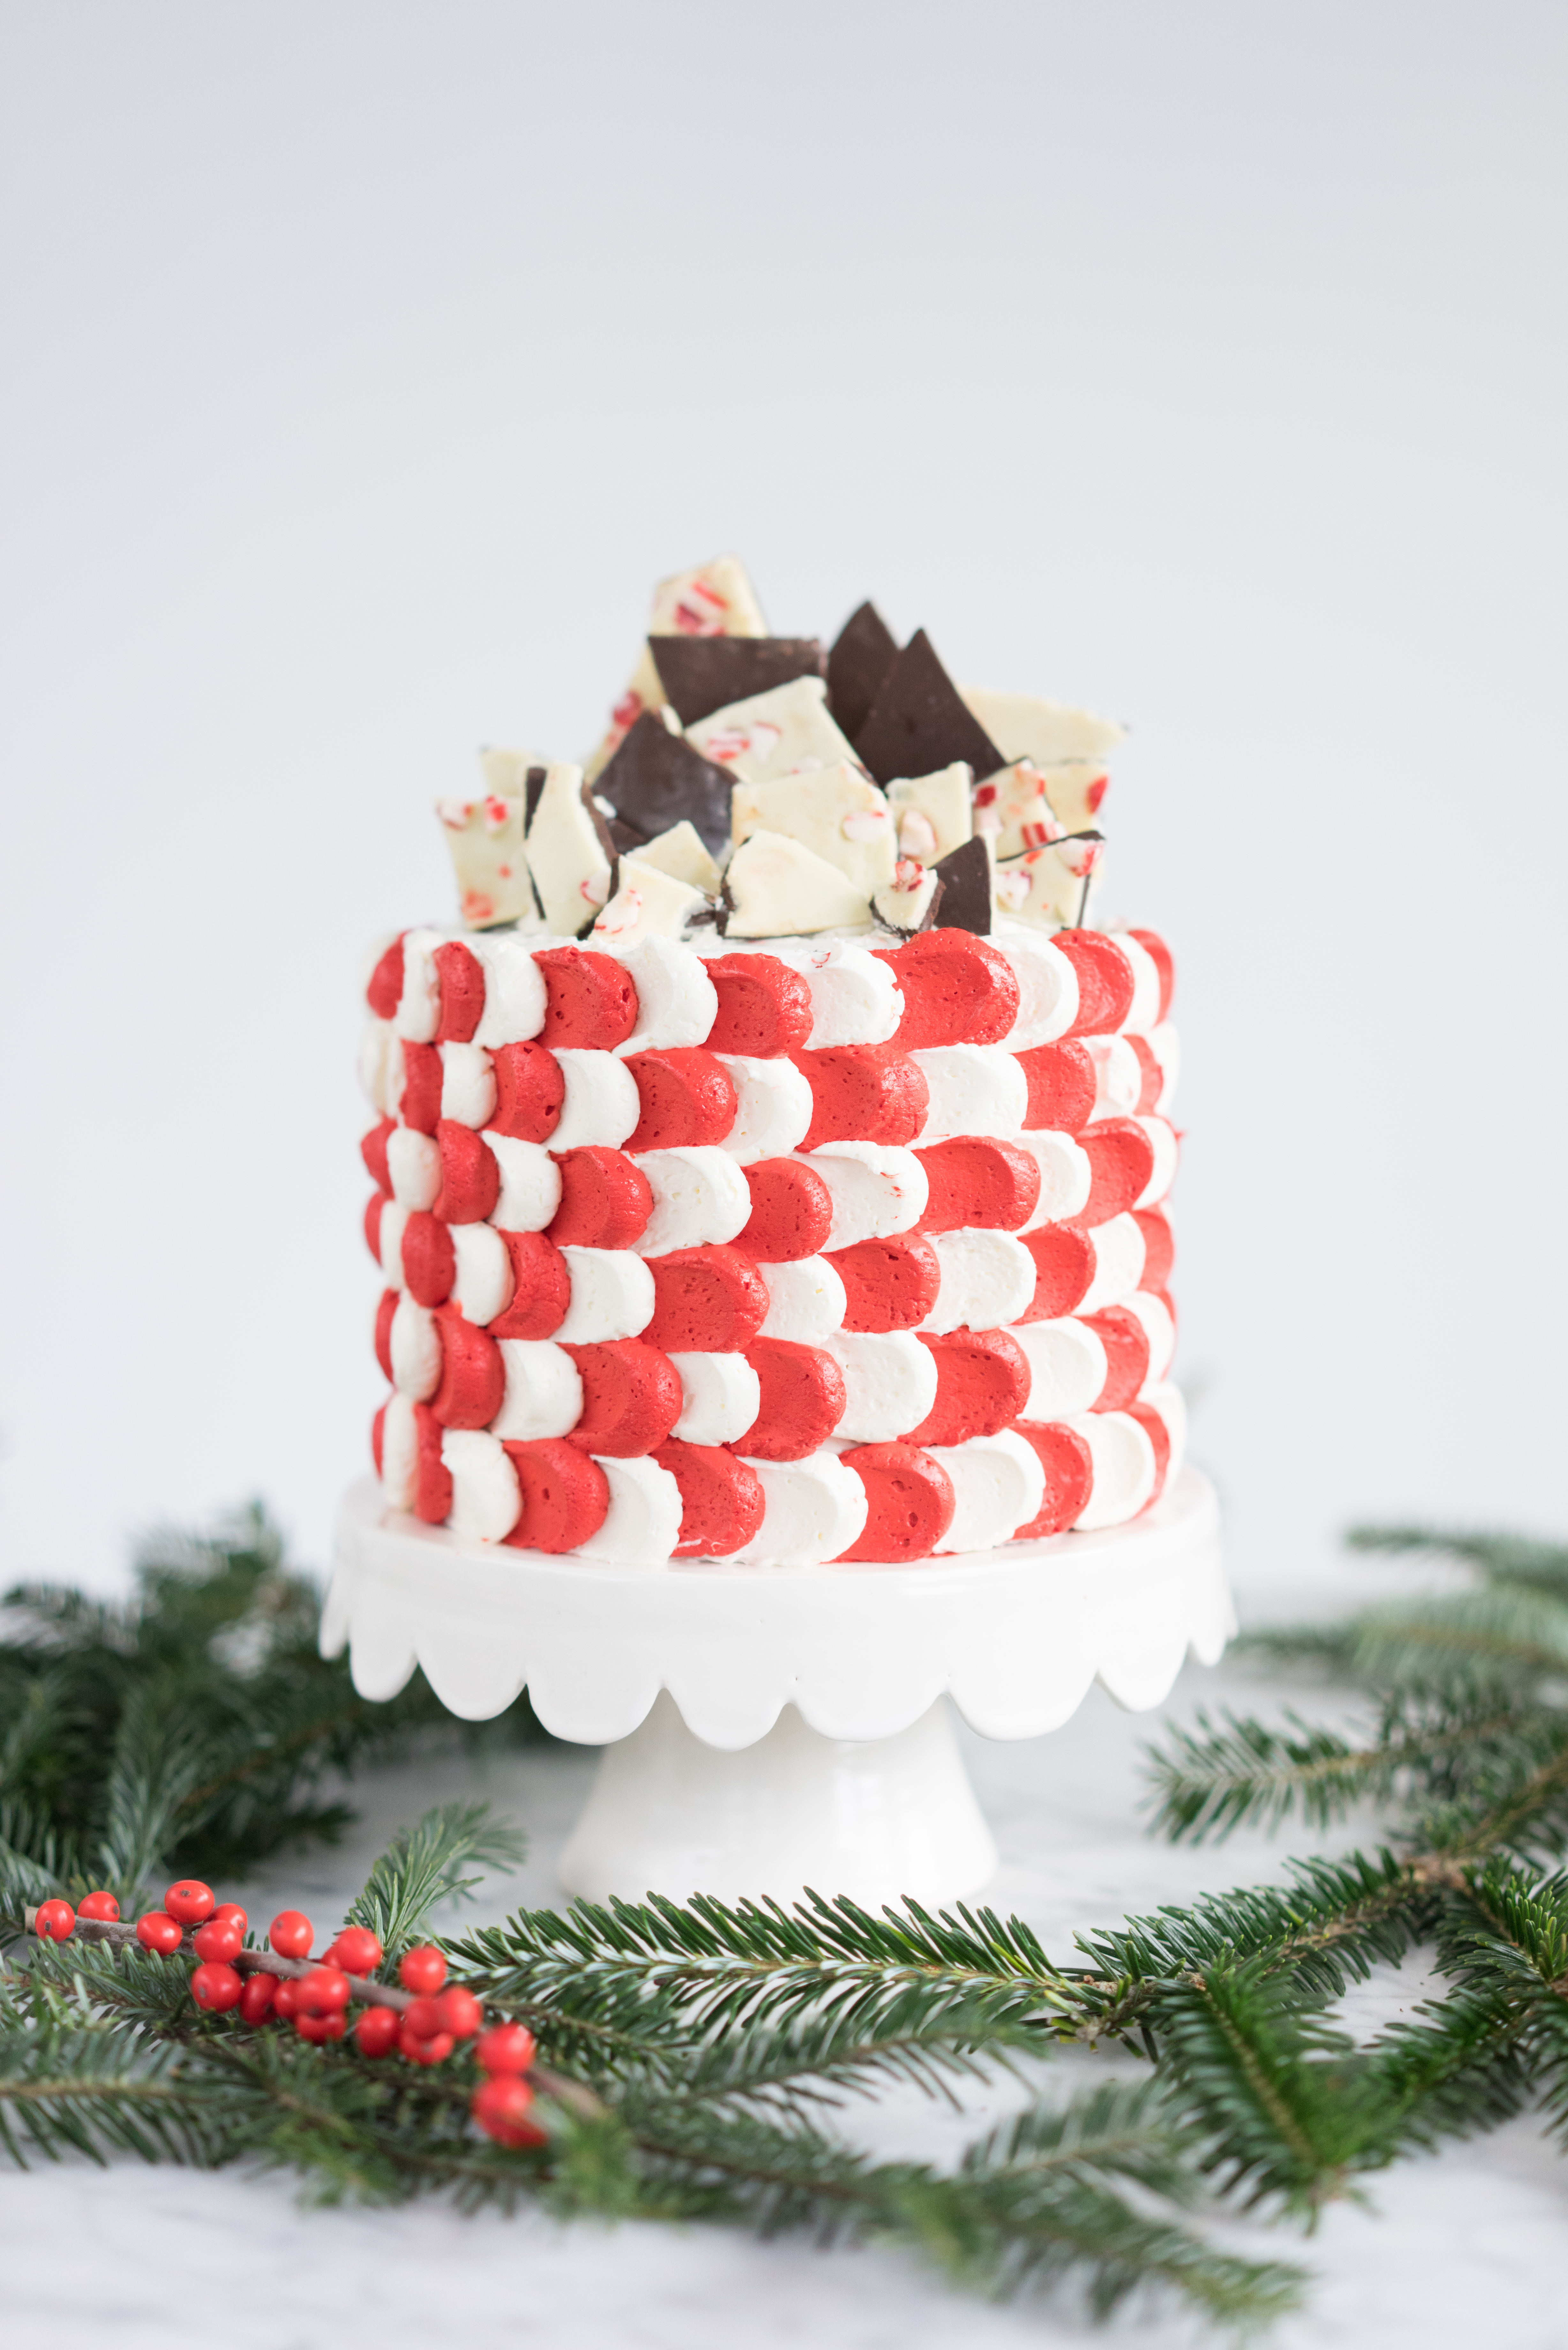
And what better way to highlight peppermint and chocolate than with more peppermint and chocolate? I paired the bark with a super rich brownie cake, layered with Italian buttercream and crushed bark, and finished with bark shards on the top! This would be perfect to take to a holiday party or to serve on Christmas day. The richness of the brownie means that you only need to have a little bit, making this perfect to feed a crowd! (or you know, just eat by yourself!)
I went with a petal technique with the buttercream on the outside of the cake. This is simple and effective, and only requires a piping bag and a small offset spatula (or you can use the back of a spoon or a knife). You could also just give the cake a smooth layer of buttercream and it would look just as effective!
I used Italian buttercream in the recipe as I wanted something that I could make super red to reflect the red and white in the bark. I have found that the best way to make buttercream really vibrant colours is to add the food colouring to the sugar syrup that you use in the recipe. That way it is all nicely dissolved, and you don't have to worry about it not incorporating (buttercream has so much fat in it from the butter that sometimes it makes it tricky to totally mix the colouring in without it having a 'grainy' look to it). The way that I did it meant that I needed to make two separate batches of buttercream. If that isn't for you then you can just double the recipe of the white buttercream and divide and colour it after you have mixed it.
Peppermint bark brownie cake
- Makes one three layer, 6 inch cake -
Brownie Cake
250g (2 1/4 sticks) unsalted butter
1 1/4 cup (125g) cocoa powder, sifted
250g (9oz) good quality dark chocolate, roughly chopped
5 large eggs
1 2/3 cup (320g) sugar
1 tsp (5ml) vanilla paste or extract
1/2 tsp salt
3/4 cup (95g) all purpose flour
1 tsp (4g) baking powder
White Italian buttercream
2 Tbsp (30ml) water
1/2 cup (100g) sugar
80g egg whites
2 Tbsp (25g) sugar
1 cup (225g) unsalted butter, at room temperature
Red Italian buttercream
1 Tbsp (15ml) water
1 Tbsp (15ml) red gel food colouring
1/2 cup (100g) sugar
80g egg whites
2 Tbsp (25g) Sugar
1 cup (225g) unsalted butter, at room temperature
Assembly
1 box Williams-sonoma peppermint bark, crushed and in shards
- PROCESS -
BROWNIE CAKE
Preheat the oven to 350f/180c. Grease three 6 inch cake tins well with butter and set aside.
In a medium pot, melt the butter over medium heat. Stir in the sifted cocoa and mix until smooth. Remove from the heat and add the chocolate, stirring until the chocolate has melted and the mixture is smooth. Cool slightly.
In the bowl of a stand mixer fitted with the whisk attachment, add the eggs, sugar, vanilla and salt. Mix on medium-high for approximately 5 minutes, until light and fluffy. Add flour and baking powder, and the cooled chocolate mixture, and fold carefully until incorporated.
Divide the mixture between the three pans and bake for 25-30 minutes or until the sides are just set and a skewer inserted in the middle of the cake comes out clean. Cool for 10 minutes in the tins and then turn onto a wire rack and cool completely. Level the tops with a large serrated knife or a cake leveler.
BUTTERCREAM
Place the 1/2 cup of sugar and water in a small pot, and heat over medium heat until the sugar has dissolved. Continue to heat until it reaches 245f/120c on a candy thermometer.
While the sugar syrup is heating, place the egg whites in the bowl of a stand mixer fitted with the whisk attachment. Whip the egg whites on high until foamy, then sprinkle in the 2 Tbsp of sugar and whip until stiff peaks form.
When the syrup is ready, with the mixer on high, slowly pour the sugar syrup into the meringue in a steady stream. Mix on high for 10-15 minutes until the outside of the bowl is no longer warm to the touch.
Lower the mixer speed to medium. Add the butter a cube at a time, until it has all been added. Continue to mix the buttercream for an additional 1-2 minutes. It may look as if the mixture is too runny, but just keep beating - it will come together! Transfer to a bowl.
Repeat the process for the red buttercream, using the gel food colouring in with the water and sugar for the syrup.
ASSEMBLY
Place the first of the leveled cakes on a turntable. Spread an even layer of white buttercream over the top of the layer, and sprinkle over a handful of crushed peppermint bark. Place the second layer on top, and repeat the process. Place the final layer of cake on and ensure that the layers are even and level. Coat the cake with a thin layer of buttercream to act as a crumb coat. Chill for approximately an hour to let the crumb coat set.
Fill two piping bags fitted with a round attachment (I used an Ateco #805) with the red and white buttercream. Mark a number of vertical lines around your cake to act as a guide. For the first line, pipe alternating dots of red and white buttercream up the side of the cake. Use an offset spatula or spoon to carefully smear the blobs, wiping the spatula well between each dot. Repeat for the next line, reversing the order (so a white smeared dot will have a red dot piped onto it, and so forth), piping a dot onto the tail of the last smeared dot to create a checkerboard pattern.
Repeat the process until the whole cake is finished, finishing the pattern with a line of non-smeared dots.
Decorate the top of the cake with shards of peppermint bark.
Thank you so much to Williams-Sonoma and The Feed Feed for sponsoring this post! All opinions are my own. Check out all the other amazing creations by the feedfeed community by searching the #Barkyeah hashtag on Instagram!